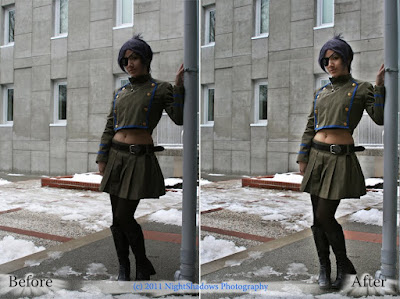
I'm going to show you a great way to use photoshop to get images to come out of the shadows.
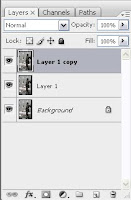 To start, I always make two copies of my original image. [Ctrl+J] or Layer
 Duplicate Layer.
Shut off the background layer. This saves it from damage and right now you don't need it.

After selecting the top layer we need to remove the colour, so we are affecting the shadows and light. [Ctrl+Shift+U] or Image
 Adjustments
  Desaturate.
Next we need to invert the image so that we brighten the dark and darken the bright. [Ctrl+I] or Image
 Adjustments
  Invert.
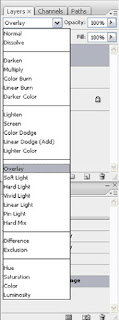
Now we need to apply the effect to the layer below. We do this by adjusting the Layer Blend Mode to Overlay.
This will make our colour a little weird, but we'll fix that in the next step.
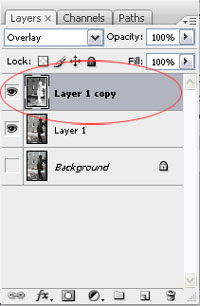 Make sure your top layer is selected.
Select Filter
 Blur
Blur Gaussian Blur
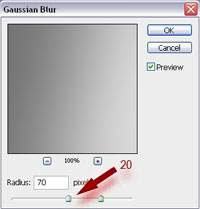
You'll have to adjust the slider to get the desired effect. I find somewhere between 20 and 70 works best. For this image I needed 70.
Try it on you images and see if it does make you images pop just a little more. Thanks for reading, any questions or comments will be answered below.
No comments:
Post a Comment